Struggling with solvent removal? Need a reliable way to concentrate your samples without degradation? A rotary evaporator might be your answer, but using it correctly is key.
Mastering a rotary evaporator involves understanding its components, proper setup, following operational steps carefully, adhering to safety protocols, and performing regular maintenance. This ensures efficient solvent removal and sample concentration.

As a company that has specialized in manufacturing and exporting laboratory instruments like rotary evaporators for over 16 years, we've seen how crucial this equipment is. I want to share some insights to help you get the most out of your rotary evaporator, making your lab work smoother and more productive. Let's dive into how you can use this fantastic piece of equipment.
What Exactly is a Rotary Evaporator and Why is it a Lab Essential?
Ever wondered how labs efficiently remove solvents from samples? Or how they concentrate solutions without damaging delicate compounds? The secret often lies in a common yet ingenious device.
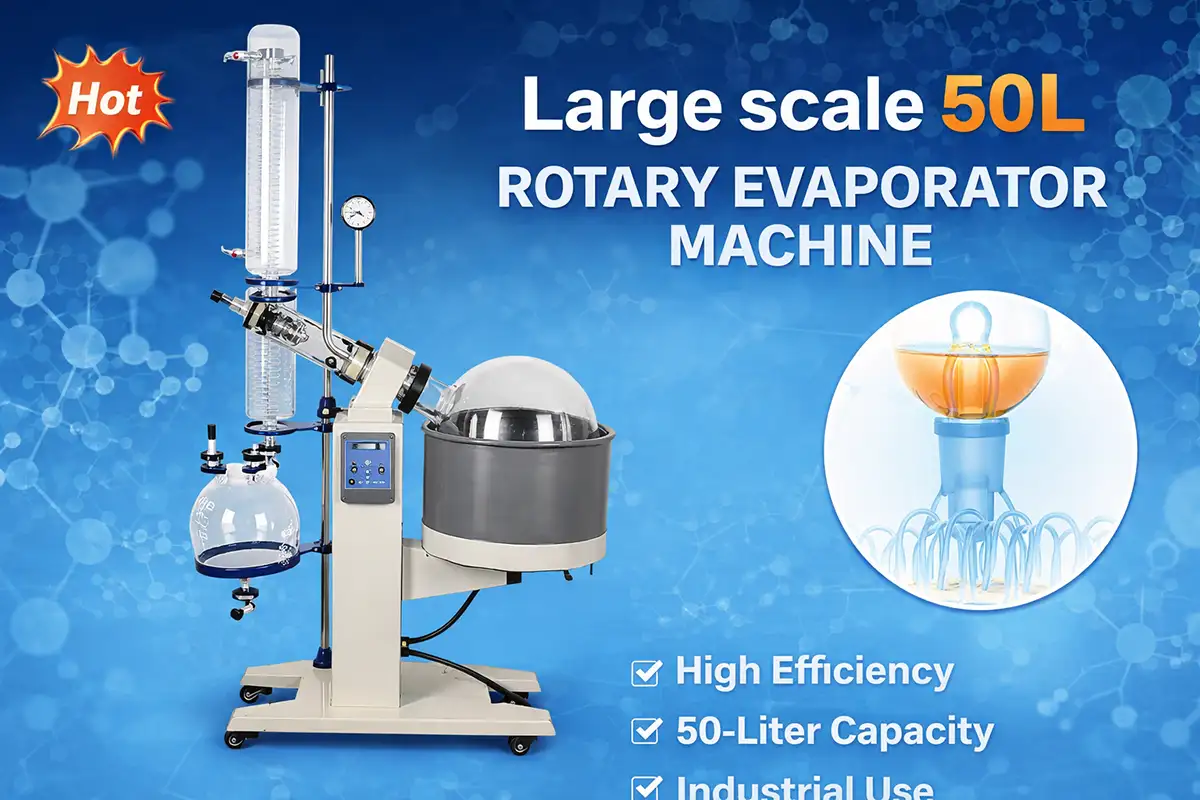
A rotary evaporator, or rotovap, is a laboratory instrument used for the efficient and gentle removal of solvents from samples by evaporation. It's essential for concentrating, purifying, or recovering solvents.

When I first started in this field, the elegance of the rotary evaporator struck me. It’s not just about boiling off a solvent; it’s about doing it smartly. The rotation of the evaporating flask increases the surface area of the liquid, and the vacuum system lowers the solvent's boiling point. This means you can evaporate solvents at lower temperatures, which is vital for heat-sensitive materials. We, as manufacturers, focus on making these processes as efficient and gentle as possible.
Why is it indispensable in many labs?
Gentle on Samples: Low-temperature evaporation prevents degradation of thermally unstable compounds. This is a huge advantage we always highlight for pharmaceutical and biotech applications.
Speed and Efficiency: The combination of rotation, vacuum, and heating speeds up evaporation significantly compared to static methods.
Solvent Recovery: With a good condenser, you can recover valuable solvents, making processes more economical and environmentally friendly. Our designs often incorporate high-efficiency condensers.
Versatility: It's used across various fields – chemistry for synthesis purification, pharma for drug development, food science for extractions, and more. We see our units in all these diverse settings.
Think about purifying a newly synthesized chemical compound or concentrating a natural extract. The rotovap makes these tasks manageable and reproducible, which is why it's a cornerstone in many research and production environments.
Understanding the Core Components: What Makes Your Rotary Evaporator Tick?
Facing a new rotary evaporator can seem complex with all its parts. But what if understanding a few key components could unlock its full potential for you?
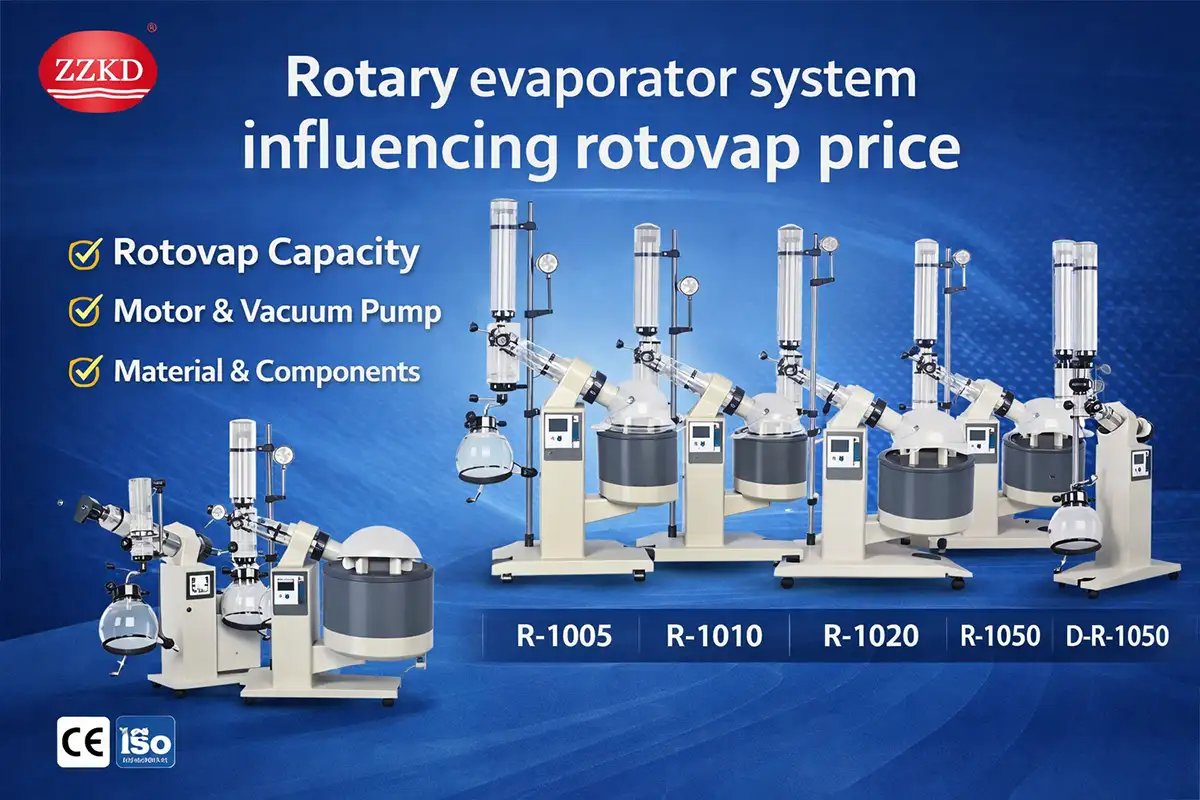
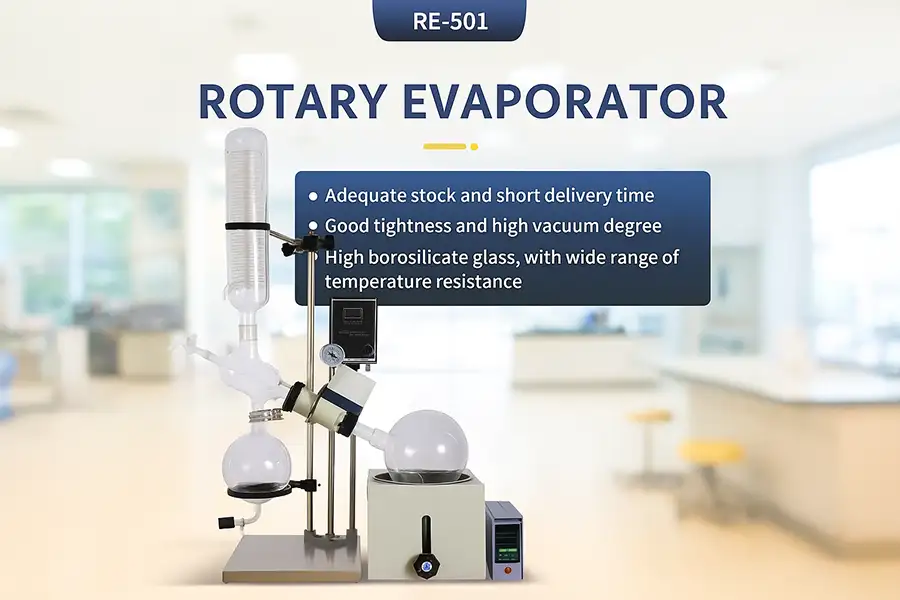
The main components of a rotary evaporator include a heated water/oil bath, a rotating motor unit, a vapor duct, a condenser, a vacuum system, and evaporating and receiving flasks. Each part plays a critical role.

From my experience in designing and troubleshooting these units for over a decade, I can tell you that knowing each component is like knowing the players in an orchestra – each must perform its part perfectly. Let’s break them down a bit more.
Key Parts and Their Functions:
| Component | Primary Function | Why it's Important for You |
|---|---|---|
| Heated Bath | Gently heats the sample in the evaporating flask. | Controls the evaporation rate; crucial for preventing overheating. We always stress precise temperature control. |
| Motor Unit & Rotating Flask | Rotates the evaporating flask. | Increases surface area, promotes even heating, prevents bumping. This is a signature feature. |
| Vapor Duct | Connects the evaporating flask to the condenser; allows vapor to travel. | Ensures a sealed path for efficient solvent transfer. The quality of seals here is something we pay close attention to in our manufacturing. |
| Condenser | Cools the solvent vapor, turning it back into liquid. | Essential for solvent recovery and preventing vapors from entering the vacuum pump. The efficiency of this part directly impacts your solvent recovery rate. |
| Vacuum System | Reduces the pressure inside the system. | Lowers the solvent's boiling point, allowing for faster, lower-temperature evaporation. This is key to the rotovap's effectiveness. |
| Receiving Flask | Collects the condensed solvent. | Allows for easy recovery and measurement of the removed solvent. |
Understanding these parts helps you not only operate the instrument but also troubleshoot if things aren't working as expected. For instance, if your evaporation is slow, it could be an issue with the bath temperature, vacuum level, or condenser coolant flow. Knowing the function of each helps pinpoint the problem.
Setting Up for Success: How Do You Prepare Your Rotary Evaporator?
Ready to start evaporating but unsure if everything is correctly assembled? A proper setup is the first step towards efficient and safe operation, preventing common frustrations.
To prepare your rotary evaporator, securely attach the evaporating flask, ensure all glassware joints are sealed and greased if necessary, connect the condenser to a coolant source, and check vacuum pump connections.

I always tell new users that spending a few extra minutes on setup can save hours of trouble later. We design our equipment for ease of assembly, but a careful check is always good practice. Here’s a more detailed checklist I often share:
Pre-Operation Checklist:
Glassware Inspection: Before anything, check all glassware (evaporating flask, condenser, receiving flask) for any cracks or chips. Using damaged glassware under vacuum is dangerous. This is a safety point we constantly emphasize.
Secure Flasks: Ensure the evaporating flask containing your sample (don't fill it more than half full!) is securely attached to the vapor duct using a flask clip. Also, secure the receiving flask.
Joints and Seals: Lightly grease ground glass joints if needed to ensure a good vacuum seal and prevent sticking. However, some modern systems use PTFE seals that may not require grease. Check your equipment's manual – our manuals are very specific about this.
Condenser Coolant: Connect the condenser to your chiller or tap water supply. Ensure the coolant flows in the correct direction (typically in at the bottom, out at the top for maximum efficiency). Set the coolant temperature appropriately for your solvent.
Vacuum Pump Connection: Connect the vacuum pump tubing to the designated port on the condenser. Make sure the tubing is in good condition and the connection is tight. A vacuum leak is a common culprit for poor performance.
Bath Temperature: Fill the heating bath with water or oil (depending on the required temperature) and set the desired temperature. Allow it to stabilize.
Power Connections: Ensure all electrical components (motor, bath, vacuum pump) are properly plugged in.
Taking these steps methodically will make your evaporation process much smoother. It's like a pilot's pre-flight check – essential for a successful journey. We build our instruments to be robust, but proper setup is a shared responsibility for optimal results.
The Nitty-Gritty: What's the Step-by-Step Process for Operation?
Feeling a bit uncertain about the exact sequence of buttons and knobs to press? Knowing the correct operating steps will make your rotary evaporation process smooth and efficient.
Operating a rotary evaporator involves starting the condenser coolant, beginning flask rotation, gradually applying vacuum, slowly lowering the flask into the bath, monitoring evaporation, and then systematically shutting down.

Over the years, I've trained many lab technicians, and I always stress that a systematic approach is best. Think of it as a gentle dance with your sample and the equipment. Here's how we typically guide users through the process with our Keda instruments, and these steps are generally applicable:
Step-by-Step Guide:
Start Coolant Flow: Turn on the chiller or water supply to the condenser. You want the condenser cold before any vapors reach it.
Begin Rotation: Turn on the motor to start rotating the evaporating flask. A moderate speed (e.g., 100-180 RPM) is usually good to start, depending on flask size and sample viscosity.
Apply Vacuum Gradually: Slowly turn on the vacuum pump and gradually close the vacuum release valve (or use the controller) to reduce the pressure. Watch for excessive bubbling or foaming in your sample. If this happens, reduce the vacuum slightly or lift the flask.
Lower Flask into Bath: Once the vacuum is stable and your sample is calm, slowly lower the rotating flask into the pre-heated bath. Only immerse the part of the flask containing the sample.
Monitor Evaporation: Observe the condensation on the condenser coils. This is your solvent being collected. Adjust bath temperature or vacuum as needed, but avoid bumping. Different solvents have different optimal settings.
Stop Evaporation: Once the solvent is removed (you'll see the volume in the evaporating flask decrease, or your product might start to solidify or become viscous), it's time to stop.
Systematic Shutdown:
Lift the flask from the bath.
Slowly release the vacuum. It's important to do this *before* stopping rotation to prevent the solvent in the receiving flask from being sucked back.
Stop the rotation.
Turn off the vacuum pump.
Turn off the condenser coolant (after a few minutes to ensure all vapors are condensed).
Turn off the heating bath.
Remove Flasks: Carefully detach the receiving flask and then the evaporating flask.
This might seem like a lot of steps, but with practice, it becomes second nature. We always recommend users refer to their specific instrument manual, as some controls can vary. Our goal as manufacturers is to make this process intuitive, but diligence from the user is key to success.
Safety First: What Precautions Are Crucial When Operating a Roto-Vap?
Worried about potential hazards while using a rotary evaporator? Safety should always be your top priority in the lab, especially when dealing with vacuum, heat, and chemicals.
Key safety precautions include wearing personal protective equipment (PPE), ensuring glassware is intact, preventing flask overfilling, using a safety shield if available, and understanding emergency shutdown procedures.

In all my years in this business, safety is the one thing we never compromise on. Our equipment is designed with safety features, like coated glassware options or over-temperature protection in baths, but user awareness is paramount. Here’s what I always emphasize to ensure a safe working environment:
Essential Safety Measures:
Personal Protective Equipment (PPE): Always wear safety glasses (or a face shield), gloves appropriate for the solvents you're using, and a lab coat. This is non-negotiable.
Inspect Glassware: Before every use, check for cracks, stars, or chips in all glassware. Damaged glassware can implode under vacuum, which is extremely dangerous. We advise discarding any compromised glassware immediately.
Avoid Overfilling: Never fill the evaporating flask more than halfway. Overfilling can lead to bumping (sudden, violent boiling) and sample loss into the condenser or vacuum system.
Secure Connections: Ensure all joints are well-sealed and flasks are securely clamped. A loose flask can detach and break.
Use a Safety Shield/Blast Shield: If your rotovap has a safety shield, use it. If not, consider working behind a portable shield, especially when working with new or potentially unstable substances, or at high temperatures/deep vacuums. Some of our models come with integrated shields.
Proper Venting: Always release the vacuum slowly and before stopping flask rotation to prevent suck-back. Vent to a fume hood if dealing with toxic vapors.
Hot Surfaces: Be aware that the heating bath and parts of the glassware will be hot. Allow them to cool before handling or use heat-resistant gloves.
Solvent Compatibility: Ensure all parts of the rotovap (seals, tubing) are compatible with the solvents you are using. Aggressive solvents can degrade components.
Emergency Procedures: Know how to quickly shut down the equipment in an emergency – this usually involves releasing vacuum, stopping rotation, and turning off heat.
By following these precautions, you can significantly reduce risks. We build our instruments to meet CE and ISO standards, focusing on operator safety, but good lab practice is a vital partner to good engineering.
Keeping it Running Smoothly: How Can You Maintain Your Rotary Evaporator?
Want your rotary evaporator to last and perform reliably for years? Like any hardworking lab equipment, it needs a bit of care and attention.
Proper maintenance involves regular cleaning of glassware, checking and replacing seals as needed, inspecting tubing, and keeping the motor and bath unit clean. This extends its lifespan and ensures consistent performance.

As a manufacturer with over 16 years of experience, we've seen firsthand how good maintenance practices can dramatically extend the life of an instrument. We design our Zhengzhou Keda rotary evaporators for durability, but a little TLC from the user goes a long way. Here are my top tips for keeping your rotovap in prime condition:
Routine Maintenance Checklist:
Clean Glassware Regularly: Clean all glassware (evaporating flask, receiving flask, condenser) thoroughly after each use to prevent residue buildup, which can be hard to remove later and can contaminate future samples. Use appropriate cleaning agents for your samples.
Inspect and Care for Seals: Vacuum seals are critical. Check them regularly for wear, cracks, or chemical attack. Clean them and, if greased, re-grease lightly with vacuum grease. Replace worn seals promptly. We offer spare parts and can advise on the best seal material for your applications.
Check Tubing: Inspect vacuum tubing and condenser coolant tubing for kinks, cracks, or brittleness. Replace them if they show signs of wear to prevent leaks.
Heating Bath Care: Keep the heating bath clean. Change the water regularly if using a water bath to prevent algae or mineral buildup. If using an oil bath, check the oil level and condition.
Motor Unit: Keep the motor unit clean and dry. Most are designed to be low-maintenance, but refer to your manual for any specific lubrication or service points.
Condenser Cleaning: Occasionally, you might need to clean the inside of the condenser coils if residues build up. This can sometimes be done by flushing with an appropriate solvent.
Logbook: For heavily used instruments, especially in a B2B setting like pharmaceutical production, keeping a logbook of usage and maintenance can be very helpful for tracking performance and scheduling preventive care.
Our 24/7 after-sales support team is always ready to help with maintenance queries, but these routine checks can prevent many common issues. Think of it as car maintenance – regular oil changes and checks keep it running reliably for years. We are proud of our "Made in China + International Quality" and want you to experience that longevity.
Troubleshooting 101: What Are Common Rotary Evaporator Issues and Fixes?
Is your rotovap not pulling a good vacuum or is evaporation painfully slow? Don't worry, many common issues have straightforward solutions you can often handle yourself.
Common rotary evaporator problems include vacuum leaks, slow evaporation rates, sample bumping, and issues with rotation or heating. Troubleshooting involves systematically checking components and settings.

In my role, I've helped countless customers troubleshoot their setups. While our units are built for reliability, the nature of vacuum systems and multiple components means issues can occasionally arise. The good news is that most are easily fixed. Here's a table of common problems and how we generally advise tackling them:
Common Problems and Solutions:
| Problem | Possible Cause(s) | Potential Solution(s) |
|---|---|---|
| Poor Vacuum / Unable to Reach Target Vacuum | Leaks in glassware joints, seals, or tubing; vacuum pump issue; vacuum release valve open. | Check all joints and seals for proper fit and grease (if applicable). Inspect tubing for cracks. Ensure vacuum release valve is closed. Check pump oil (if applicable) and pump performance. |
| Slow Evaporation Rate | Insufficient vacuum; bath temperature too low; condenser coolant too warm; poor flask rotation; flask too full. | Improve vacuum (see above). Increase bath temperature (cautiously). Ensure proper coolant flow and temperature. Check rotation speed. Ensure flask is not overfilled (max half full). |
| Sample Bumping / Foaming | Vacuum applied too quickly; bath temperature too high for the vacuum level; flask too full; sample properties. | Apply vacuum more gradually. Reduce bath temperature or increase vacuum level slightly. Ensure flask isn't overfilled. Use an anti-foaming agent if appropriate or a bump trap. Lift flask slightly from bath temporarily. |
| Flask Not Rotating | Motor issue; loose connection between motor and vapor duct; drive belt broken (on some models). | Check power to motor. Ensure secure connection. Check drive belt if your model has one. Contact service if motor seems faulty – our engineers are fluent in English and can assist. |
| Bath Not Heating / Overheating | Heater element faulty; temperature controller issue; incorrect settings. | Check power and settings. Ensure bath has sufficient liquid. If it persists, it may require service. Our units have over-temperature cutoffs for safety. |
| Solvent Not Collecting in Receiving Flask | Condenser too warm; significant vacuum leak allowing vapors to escape; blockage. | Ensure coolant is flowing and sufficiently cold. Check for large vacuum leaks. Ensure vapor path isn't blocked. |
When troubleshooting, it's best to change one variable at a time to isolate the cause. And remember, our 24/7 global hotline support is there if you get stuck. We believe in "Worry-Free Global After-Sales" and are committed to ensuring your equipment operates efficiently.
Mastering your rotary evaporator enhances lab efficiency and safety. With these insights, you're well-equipped for successful solvent removal and sample concentration.