Best rotary evaporator setup for efficient solvent removal?
The best setup is not simply the largest rotovap or the strongest vacuum. It is a balanced system in which flask capacity, heating, rotation, vacuum control, condensation, and cooling work at the same rate.
The short answer
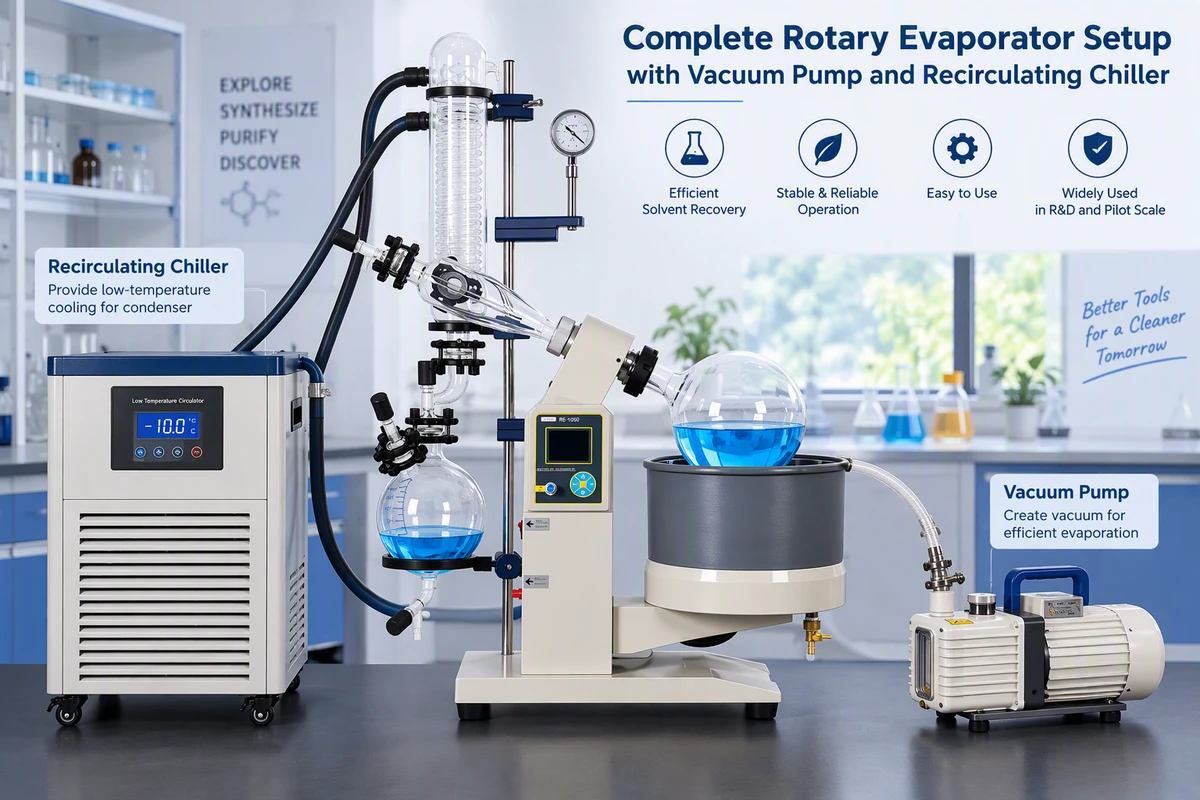
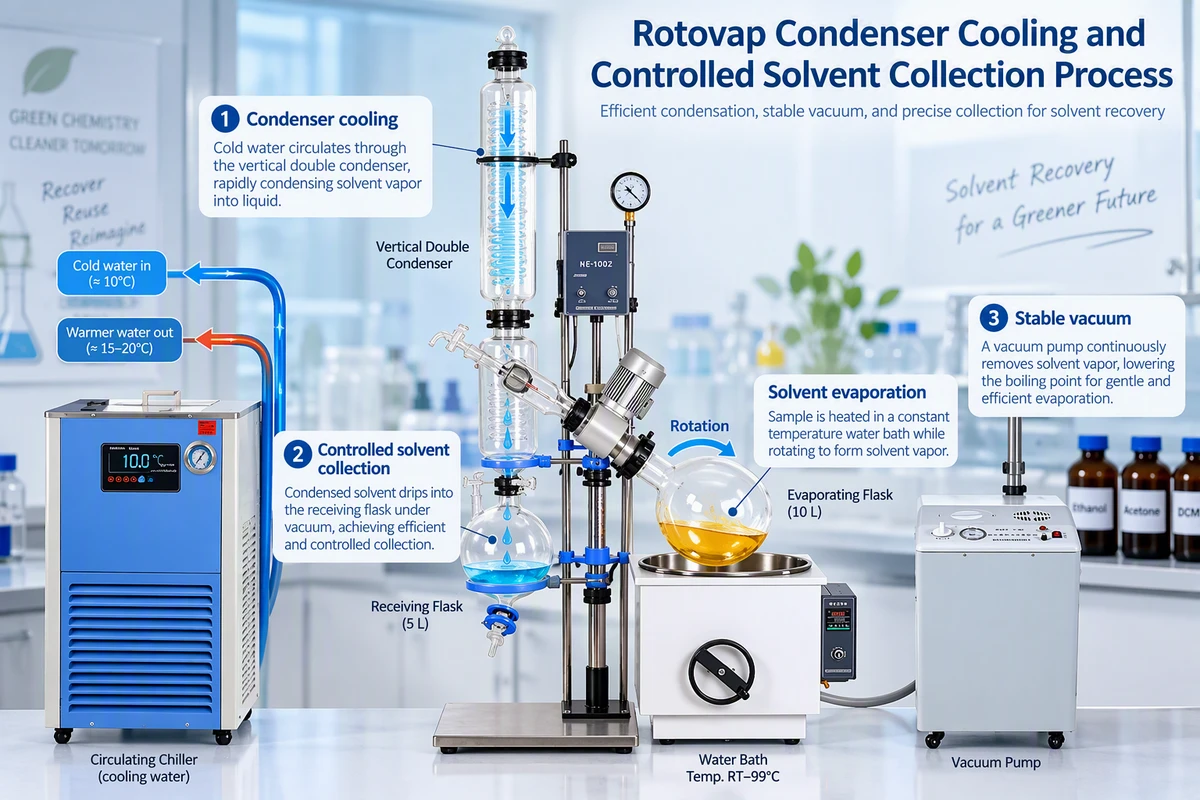
For most laboratories, the best rotary evaporator setup combines a flask sized for the actual batch, a chemically resistant vacuum pump with a controller, a water or oil bath with stable digital temperature control, a vertical high-surface-area condenser, and a recirculating chiller. Fill the evaporation flask to no more than about one-half of its volume, begin with moderate rotation and vacuum, and then lower the pressure gradually until a steady, controllable evaporation line appears.
What belongs in an efficient rotary evaporator setup?
A rotary evaporator removes solvent by spreading a liquid into a thin film inside a rotating flask while reduced pressure lowers the solvent’s boiling point. Gentle bath heat supplies the energy for evaporation, and a cooled condenser turns the vapor back into liquid for collection. For a deeper explanation of the process, see this guide to rotary evaporator chemistry.
Correct flask capacity
Choose enough headspace for film formation and foam expansion. A half-full flask is easier to control than a nearly full flask and generally reduces bumping.
Controllable vacuum
A vacuum controller is more useful than maximum vacuum alone. It lets the operator approach the solvent’s working pressure smoothly and hold it steadily.
Adequate condenser cooling
The chiller must remove vapor heat as fast as the bath produces it. Insulated tubing and sufficient coolant flow prevent avoidable solvent loss.
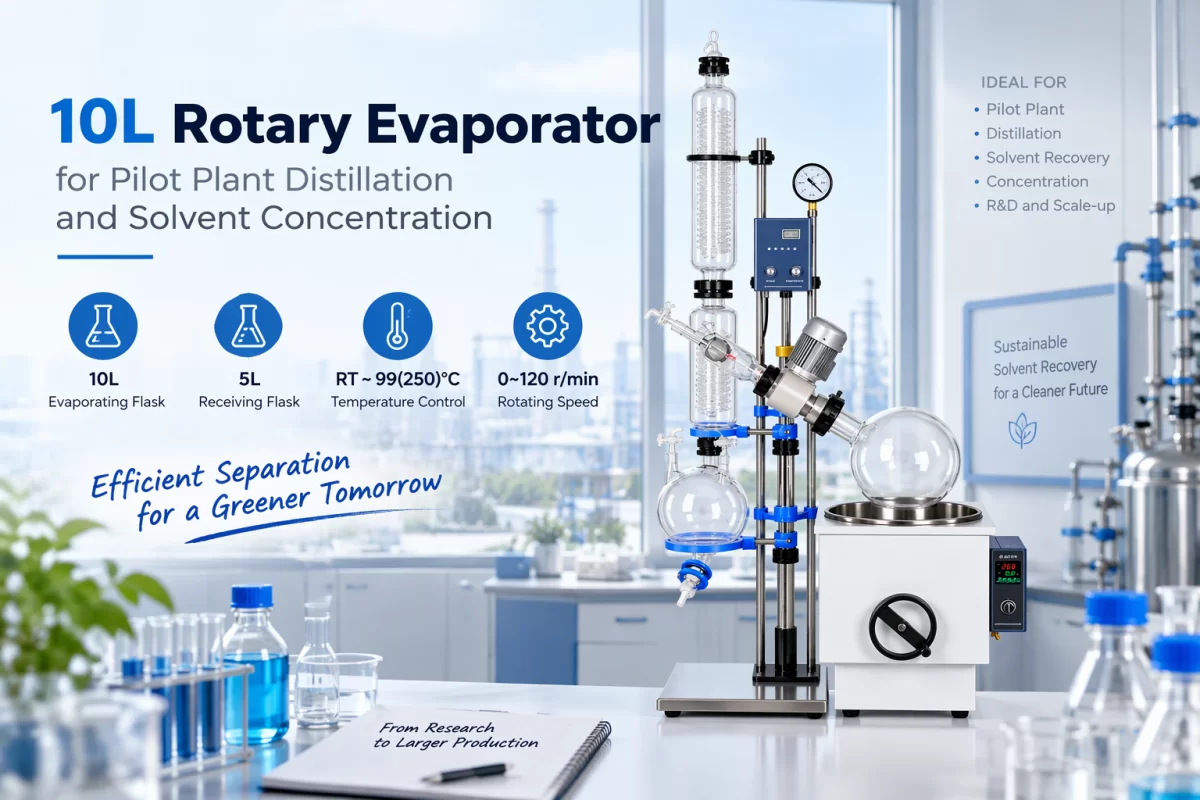
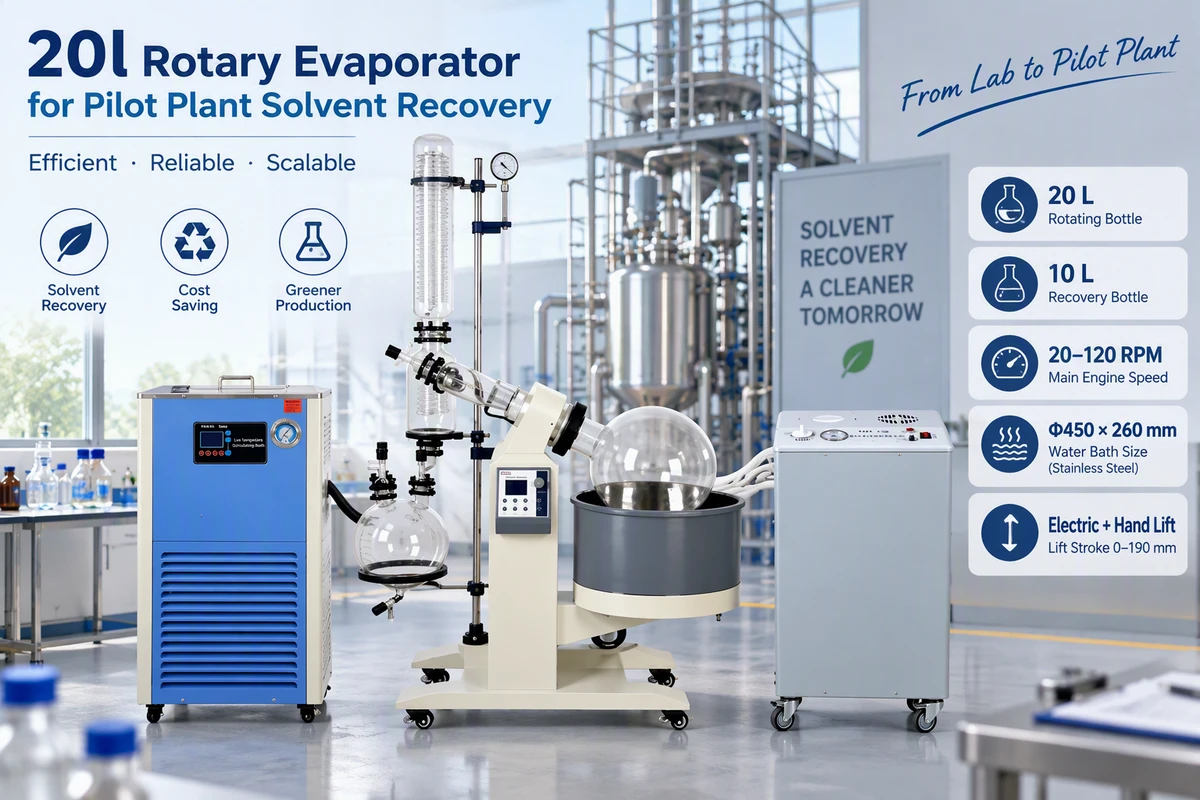
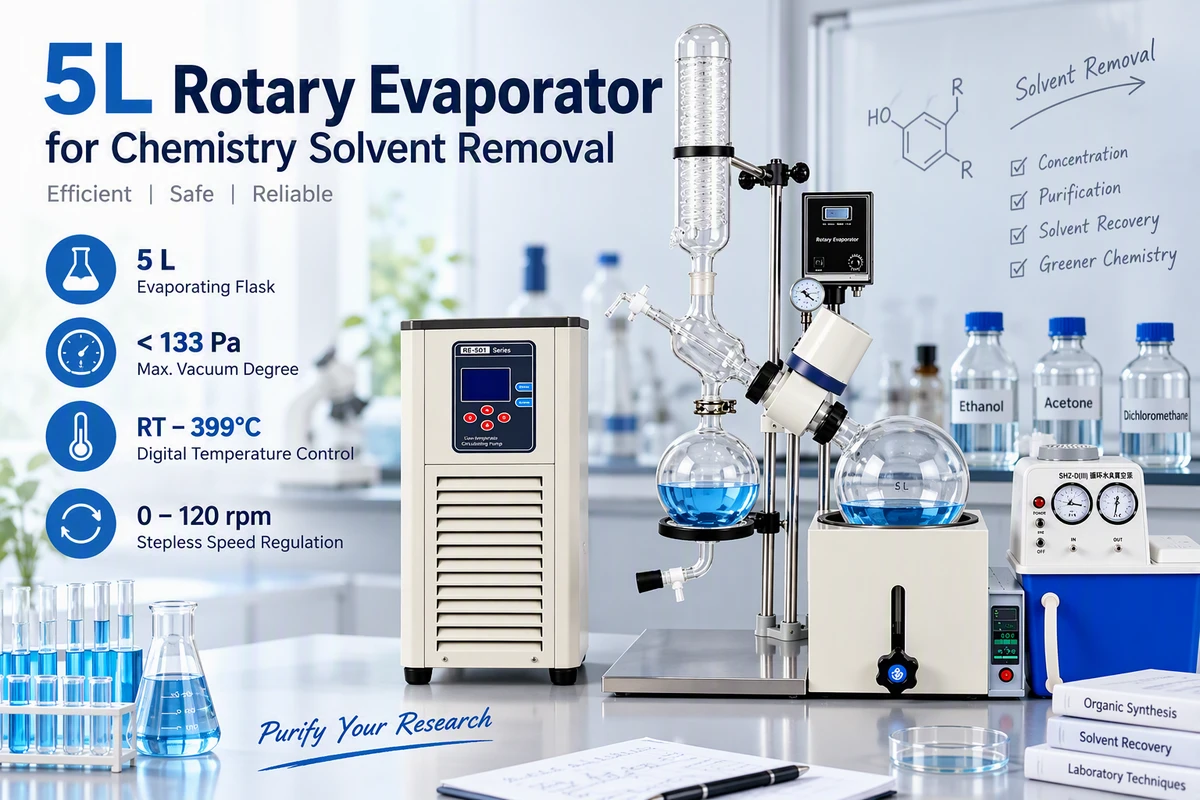
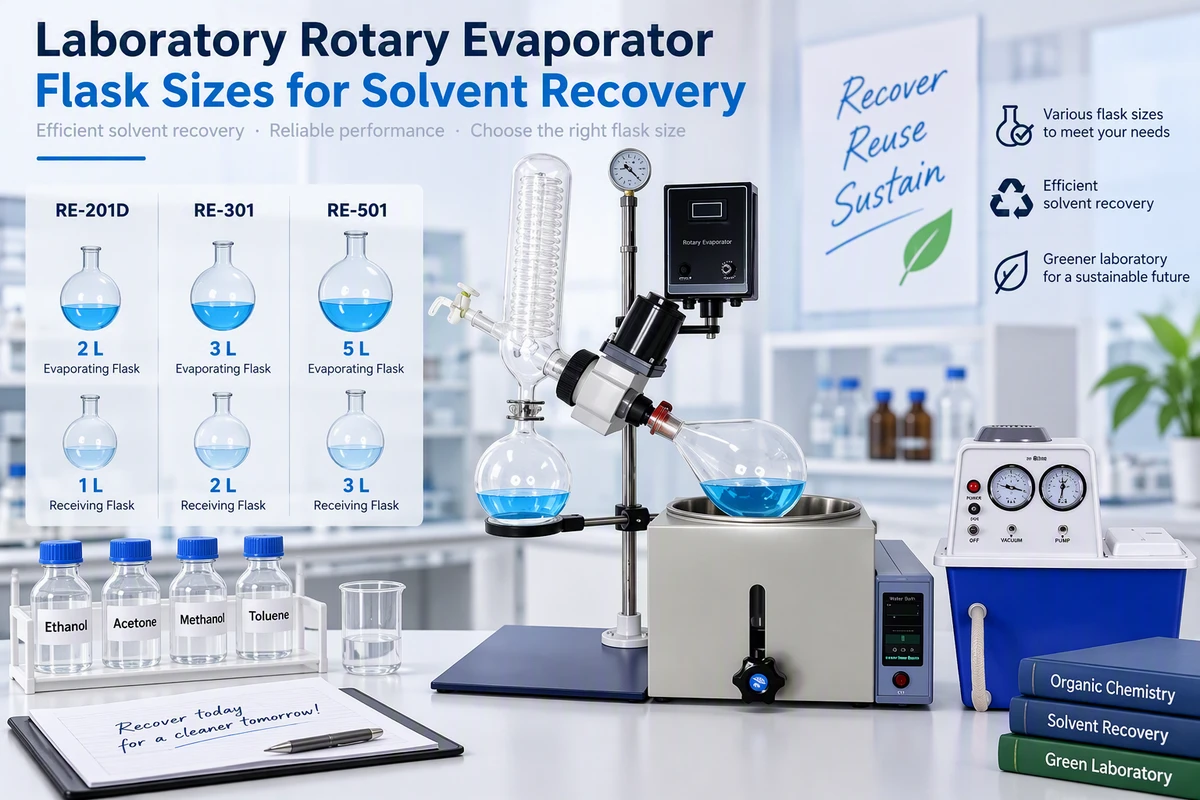
The published equipment range supports both lab and production work. Compact RE-201D, RE-301, and RE-501 systems use 2 L, 3 L, and 5 L evaporation flasks, 0–120 r/min rotation, and 1,200–1,500 W bath power. Their listed maximum vacuum is below 133 Pa, while actual operating pressure should be selected for the solvent rather than automatically set to the deepest possible vacuum. Larger RE-1002, RE-2002, and RE-5002 systems provide 10 L, 20 L, and 50 L evaporation flasks with stated water evaporation rates above 3, 5, and 9 L/h respectively.
Match the rotovap size to daily throughput
The best rotary evaporator is the smallest model that comfortably processes the required batch without overfilling. Small research batches usually fit 2–5 L systems. Pilot processing often benefits from 10–20 L equipment, while bulk solvent recovery may justify a 50 L rotary evaporator. Oversizing increases bath warm-up time, coolant demand, floor-space use, and cleaning effort; undersizing creates repeated cycles and more operator handling.
| Model group | Evaporating flask | Receiving flask | Rotation | Bath power | Best fit |
|---|---|---|---|---|---|
| RE-201D | 2 L | 1 L | 0–120 r/min | 1,200 W | Small analytical batches |
| RE-301 / RE-501 | 3 L / 5 L | 2 L / 3 L | 0–120 r/min | 1,500 W | Routine laboratory use |
| RE-1002 | 10 L | 5 L | 0–120 r/min | 3,000 W | Pilot batches |
| RE-2002 | 20 L | 10 L | 0–120 r/min | 5,000 W | Medium production |
| RE-5002 | 50 L | 20 L | 0–90 r/min | 7,000/9,000 W | Bulk solvent recovery |
Performance values are stated equipment specifications; real throughput changes with solvent, pressure, bath temperature, feed concentration, coolant temperature, and ambient conditions.
Balance bath temperature, vapor temperature, and coolant
A useful starting framework is the widely used 20-40-60 rule associated with BÜCHI rotary evaporation guidance: coolant around 20°C, vapor around 40°C, and bath around 60°C, creating roughly 20°C steps. It is a starting relationship, not a universal recipe. Heat-sensitive compounds, high-boiling solvents, cooling capacity, and local safety procedures may require different values.
Authoritative physical data also explain why vacuum matters. The NIST Chemistry WebBook reports normal boiling points of approximately 78.4°C for ethanol and 77.1°C for ethyl acetate at atmospheric pressure. Under reduced pressure, these common solvents boil at much lower temperatures, allowing a rotary evaporator to remove them without exposing the sample to their atmospheric boiling temperatures.
Rotation speed should produce a smooth, even film without throwing liquid into the vapor duct. Compact systems provide up to 120 r/min, while the R-series offers ranges such as 10–140 RPM for the 5 L R1005 and 20–120 RPM for larger units. More rotation can increase surface area, but speed should be reduced when a viscous, foaming, or bump-prone sample becomes unstable.
The vacuum source must also match the chemistry. A diaphragm pump is often suitable for routine solvent work because it can be oil-free and chemically resistant. A vacuum controller, compatible tubing, cold trap where required, and sound seals are essential. Review this practical guide to selecting a vacuum pump for a rotary evaporator before matching pump capacity and materials.
A practical setup sequence for efficient solvent removal
Inspect the glassware and seals. Do not use chipped, cracked, deeply scratched, or poorly fitting glass under vacuum. Confirm that PTFE and fluoro-rubber sealing components are clean and chemically compatible.
Load the flask safely. Leave generous headspace, secure the flask correctly, and add a bump trap when carryover could contaminate the receiving flask.
Start coolant circulation first. Verify condenser flow and coolant temperature before generating solvent vapor.
Begin rotation before deep vacuum. Establish a stable film, lower the flask into the bath, and reduce pressure gradually rather than opening the system to full vacuum at once.
Tune one variable at a time. Adjust vacuum first for controlled boiling, then refine rotation, bath temperature, and coolant flow. Watch both the evaporation flask and the condensation zone.
End in the correct order. Raise the flask from the bath, stop heating, slowly vent the system, stop rotation, and only then remove the flask. Keep cooling on long enough to collect remaining vapor.
Common setup mistakes that reduce recovery
Weak solvent recovery often comes from a warm condenser, leaking connections, overfilled glassware, or a pump that cannot hold a stable working pressure. Another common mistake is treating the bath heater as the only driver of speed. Raising bath temperature may simply push vapor through an undersized or under-cooled condenser. Solvent odor near the outlet, visible vapor beyond the condenser, or rapidly warming coolant can signal that vapor production exceeds cooling capacity.
Maintenance has a direct effect on performance. Clean condenser surfaces transfer heat better, intact seals protect vacuum stability, and correctly sized tubing reduces pressure loss. For component identification and replacement planning, consult the rotary evaporator parts guide.
Final recommendation
For ordinary laboratory solvent removal, a 2–5 L rotary evaporator with stepless speed control, stable digital bath control, a vertical condenser, a chemical-resistant diaphragm pump, vacuum regulation, and a recirculating chiller is the most flexible configuration. For pilot or production use, select 10–50 L equipment only after calculating real batch volume, desired cycles per day, condenser load, electrical supply, lifting needs, and available cooling capacity.
The most efficient rotary evaporator setup is therefore a matched system—not an isolated machine. Correct sizing prevents wasted capacity, gradual vacuum control prevents bumping, sufficient cooling improves recovery, and disciplined operating order protects both sample and equipment.
Build a setup around the solvent and batch
Compare flask volume, evaporation target, vacuum compatibility, bath power, condenser design, and cooling demand before choosing a rotary evaporator system.